Many Subaru owners have been confounded by one particular mystery, which is why do Subaru lug nuts and studs seem to crossthread without reason. Maybe it is the lug stud having threads all the way to the end, possibly it is the thread pitch Subaru chooses (1.25 vs 1.50), or overtightened lug nuts… We will have a bit of time to think of this during our install here.
Time frame
Our time to complete this project will be around 10-30 minutes given your tools and skill rating. Caliper bolts can be problematic, do not underestimate the power of rust if you live in an area prone to it.
Tools
The tools necessary to today’s job will be removing the brakes and rotor to get to the stud below. So we will start it off with a 17mm wrench or socket of your choice.
Grey Pneumatic 3/8th socket set Gearwrench 3/8ths ratchet Grey pnuematic wobble socket set
When the 3/8ths sockets are out the Milwaukee 3/8th impact is not far behind.


My go to wrench being my Snap-on 0 offset extended box end. With the extended length it easily breaks free stubborn rusty bolts. But any extended length wrenches can help you conquer this bolt, here is a Gearwrench set that I have used at work and enjoy.

Now we will need a stud installer. The unit I use day in and out is this Lisle stud installer. It has worked well on multiple car and has yet to let me down after meany years of abuse.

If you are going to extended studs my friends have had great luck with ARP extended studs.
Install
As with any suspension related install we will go ahead and raise the vehicle off the ground and support it properly with jack stands. After this is completed we can remove the wheel.

With the wheel removed we can see where we need to be. Removing the caliper and rotor is our upcoming steps.
With the wheel removed we need to locate our caliper bolts. After locating them we will take our remove the two bolts of the bracket or caliper that attach it to the spindle. You may place the caliper in a safe place out of your working area.

Here is the upper caliper bolt.

And here is the lower bolt, with both of these removed you will be able to move the caliper to the side.

With the caliper free and out of our working space we remove the rotor.
Up next will be the brake rotor. Locating the two threaded holes that are on the rotor hat is your goal. Threading a proper bolt through it allows for easy rotor removal. If you don’t have a bolt a dead blow hammer can help, but you will want to be easy and not damage the face of the rotor.

Those bolt holes near the axle nut are threaded, with a bolt ran through them the rotor will pop free. Make sure your parking brake is not engaged, otherwise you are going to have a bad time.
After you have removed the rotor and set it to the side you will be able to see the hub face and studs. You will now want to rotate your hub to allow for the be hammered through and exit the back side. If you are doing a rear stud you will find the parking brake resides in your way. I find the area pointing towards the vehicle to be the most open and accessible. On the front spindles I find the location of the caliper is the best, but every vehicle is different, so make sure to double check your specific setup.
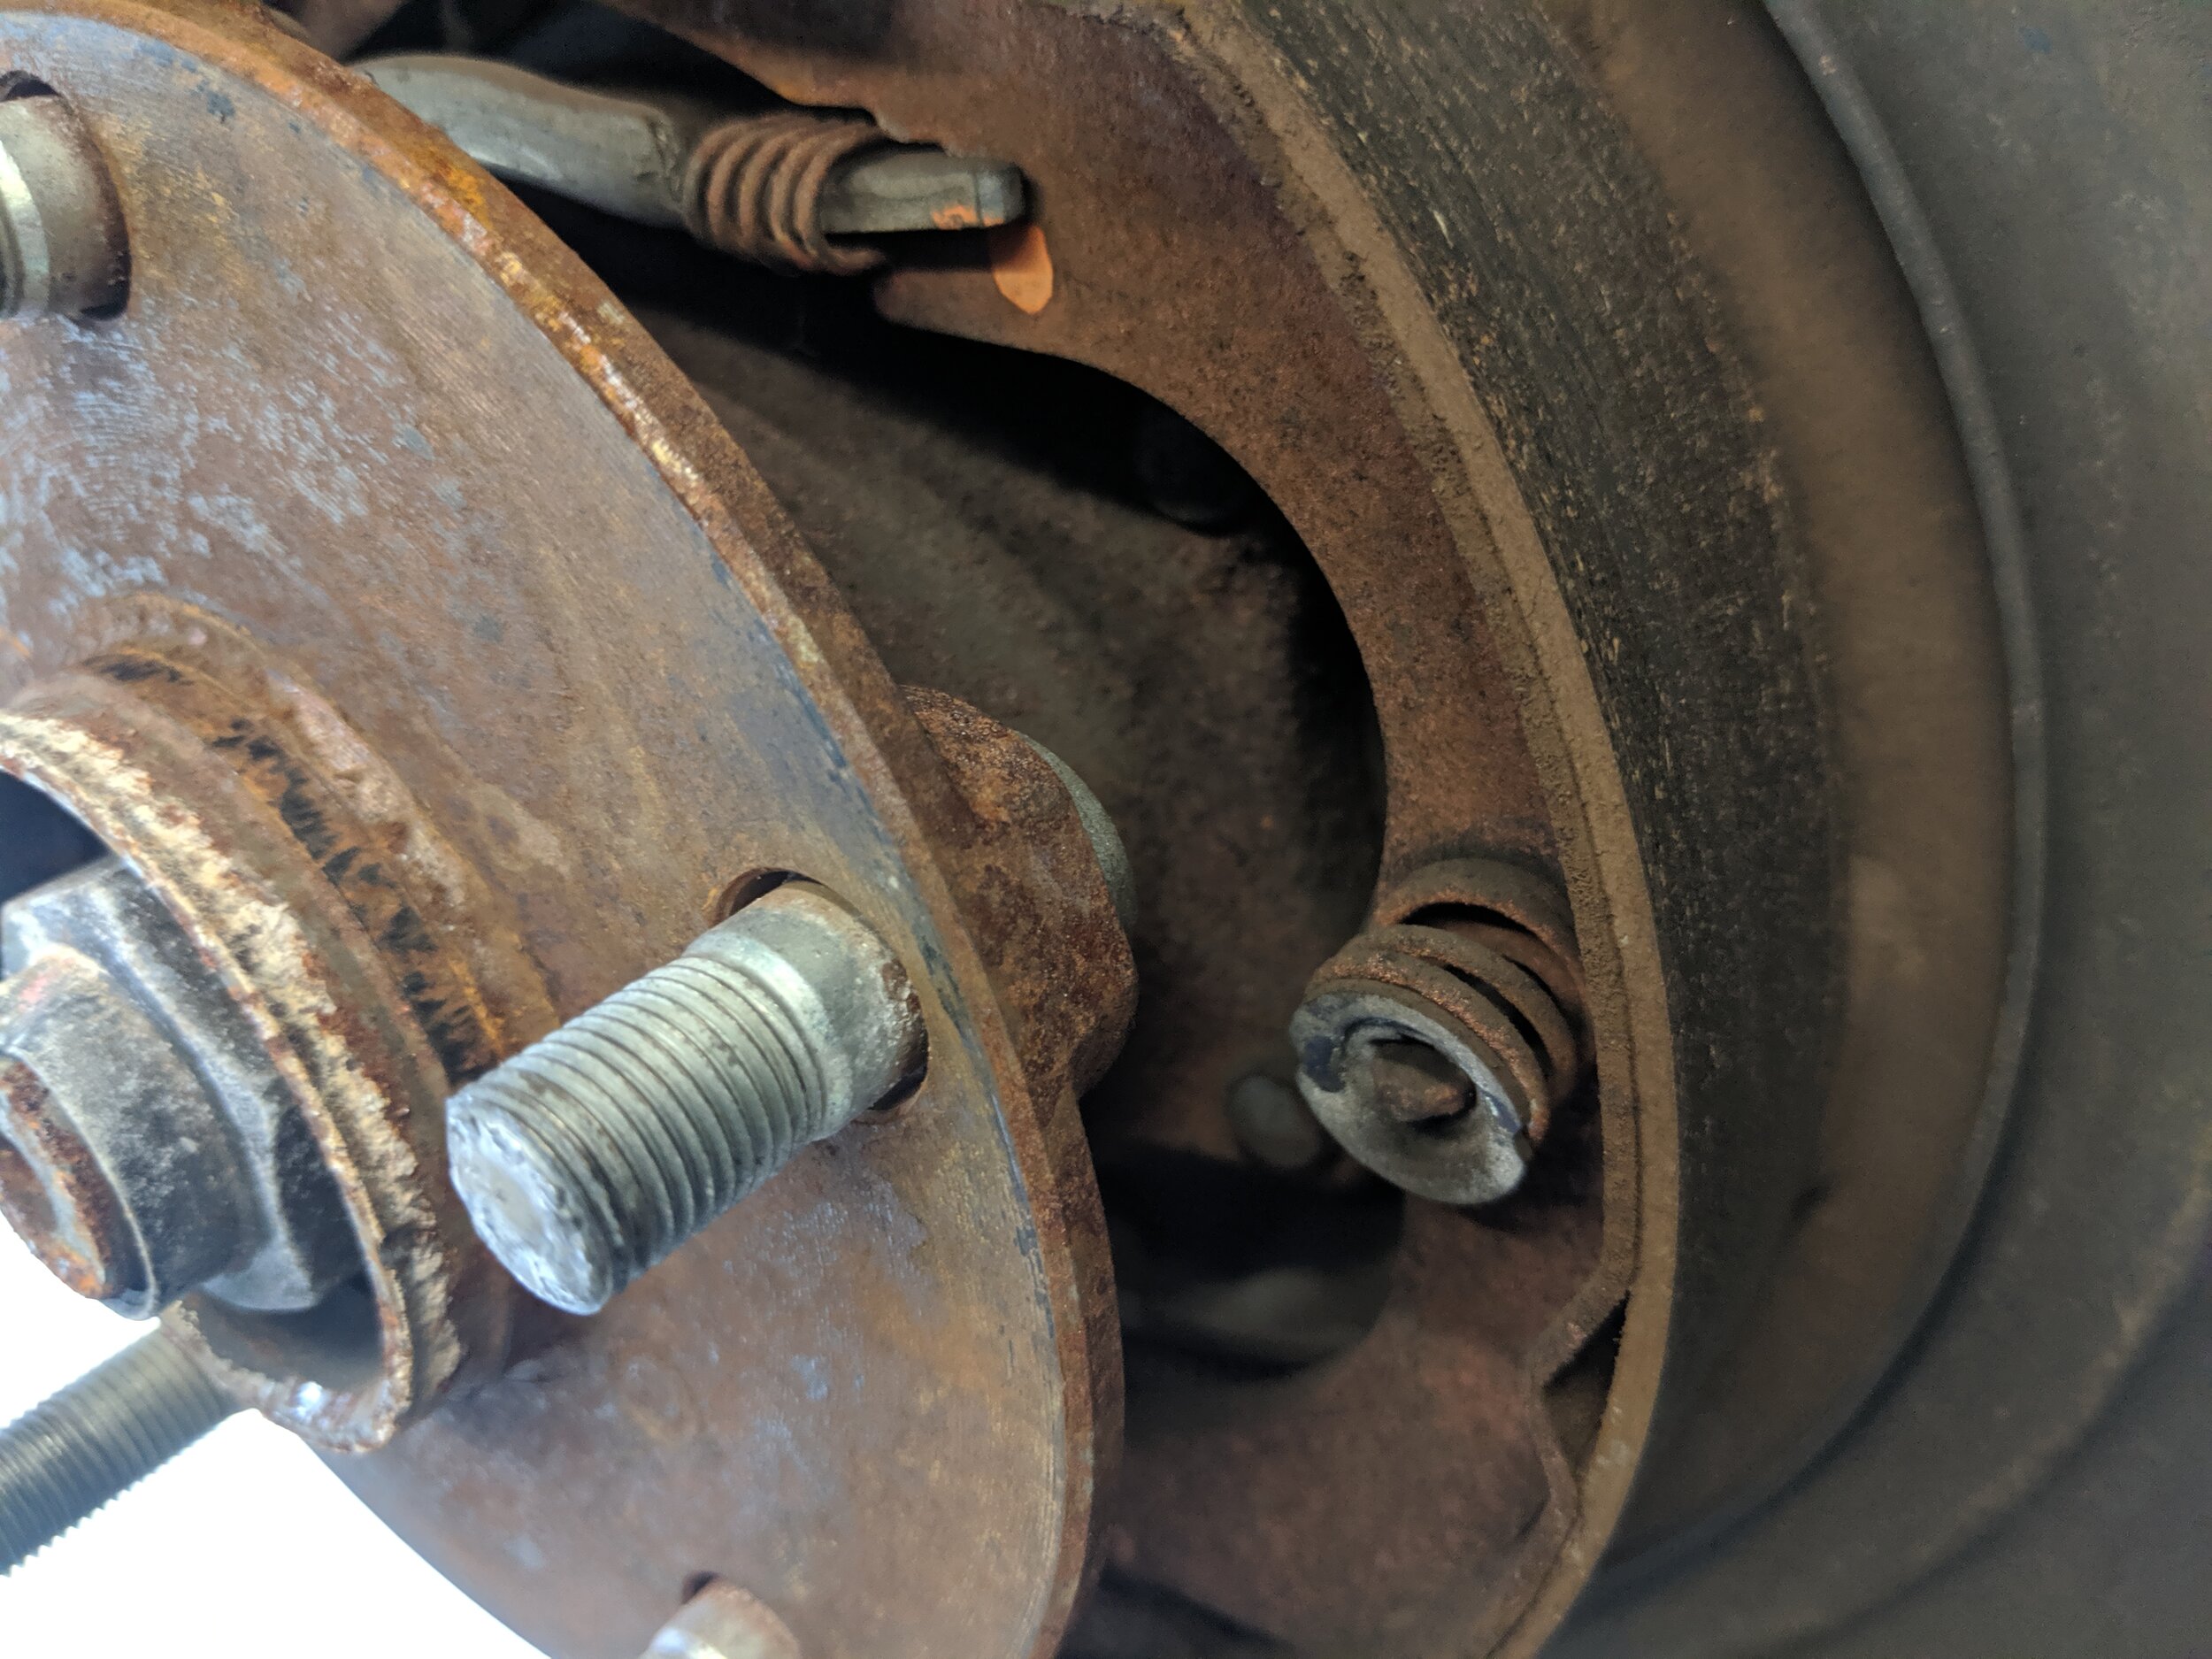
Our damaged stud to be replaced. Somewhere the bolt and nut became crossthreaded and it caused the stud to break off in the stud when trying to be removed.
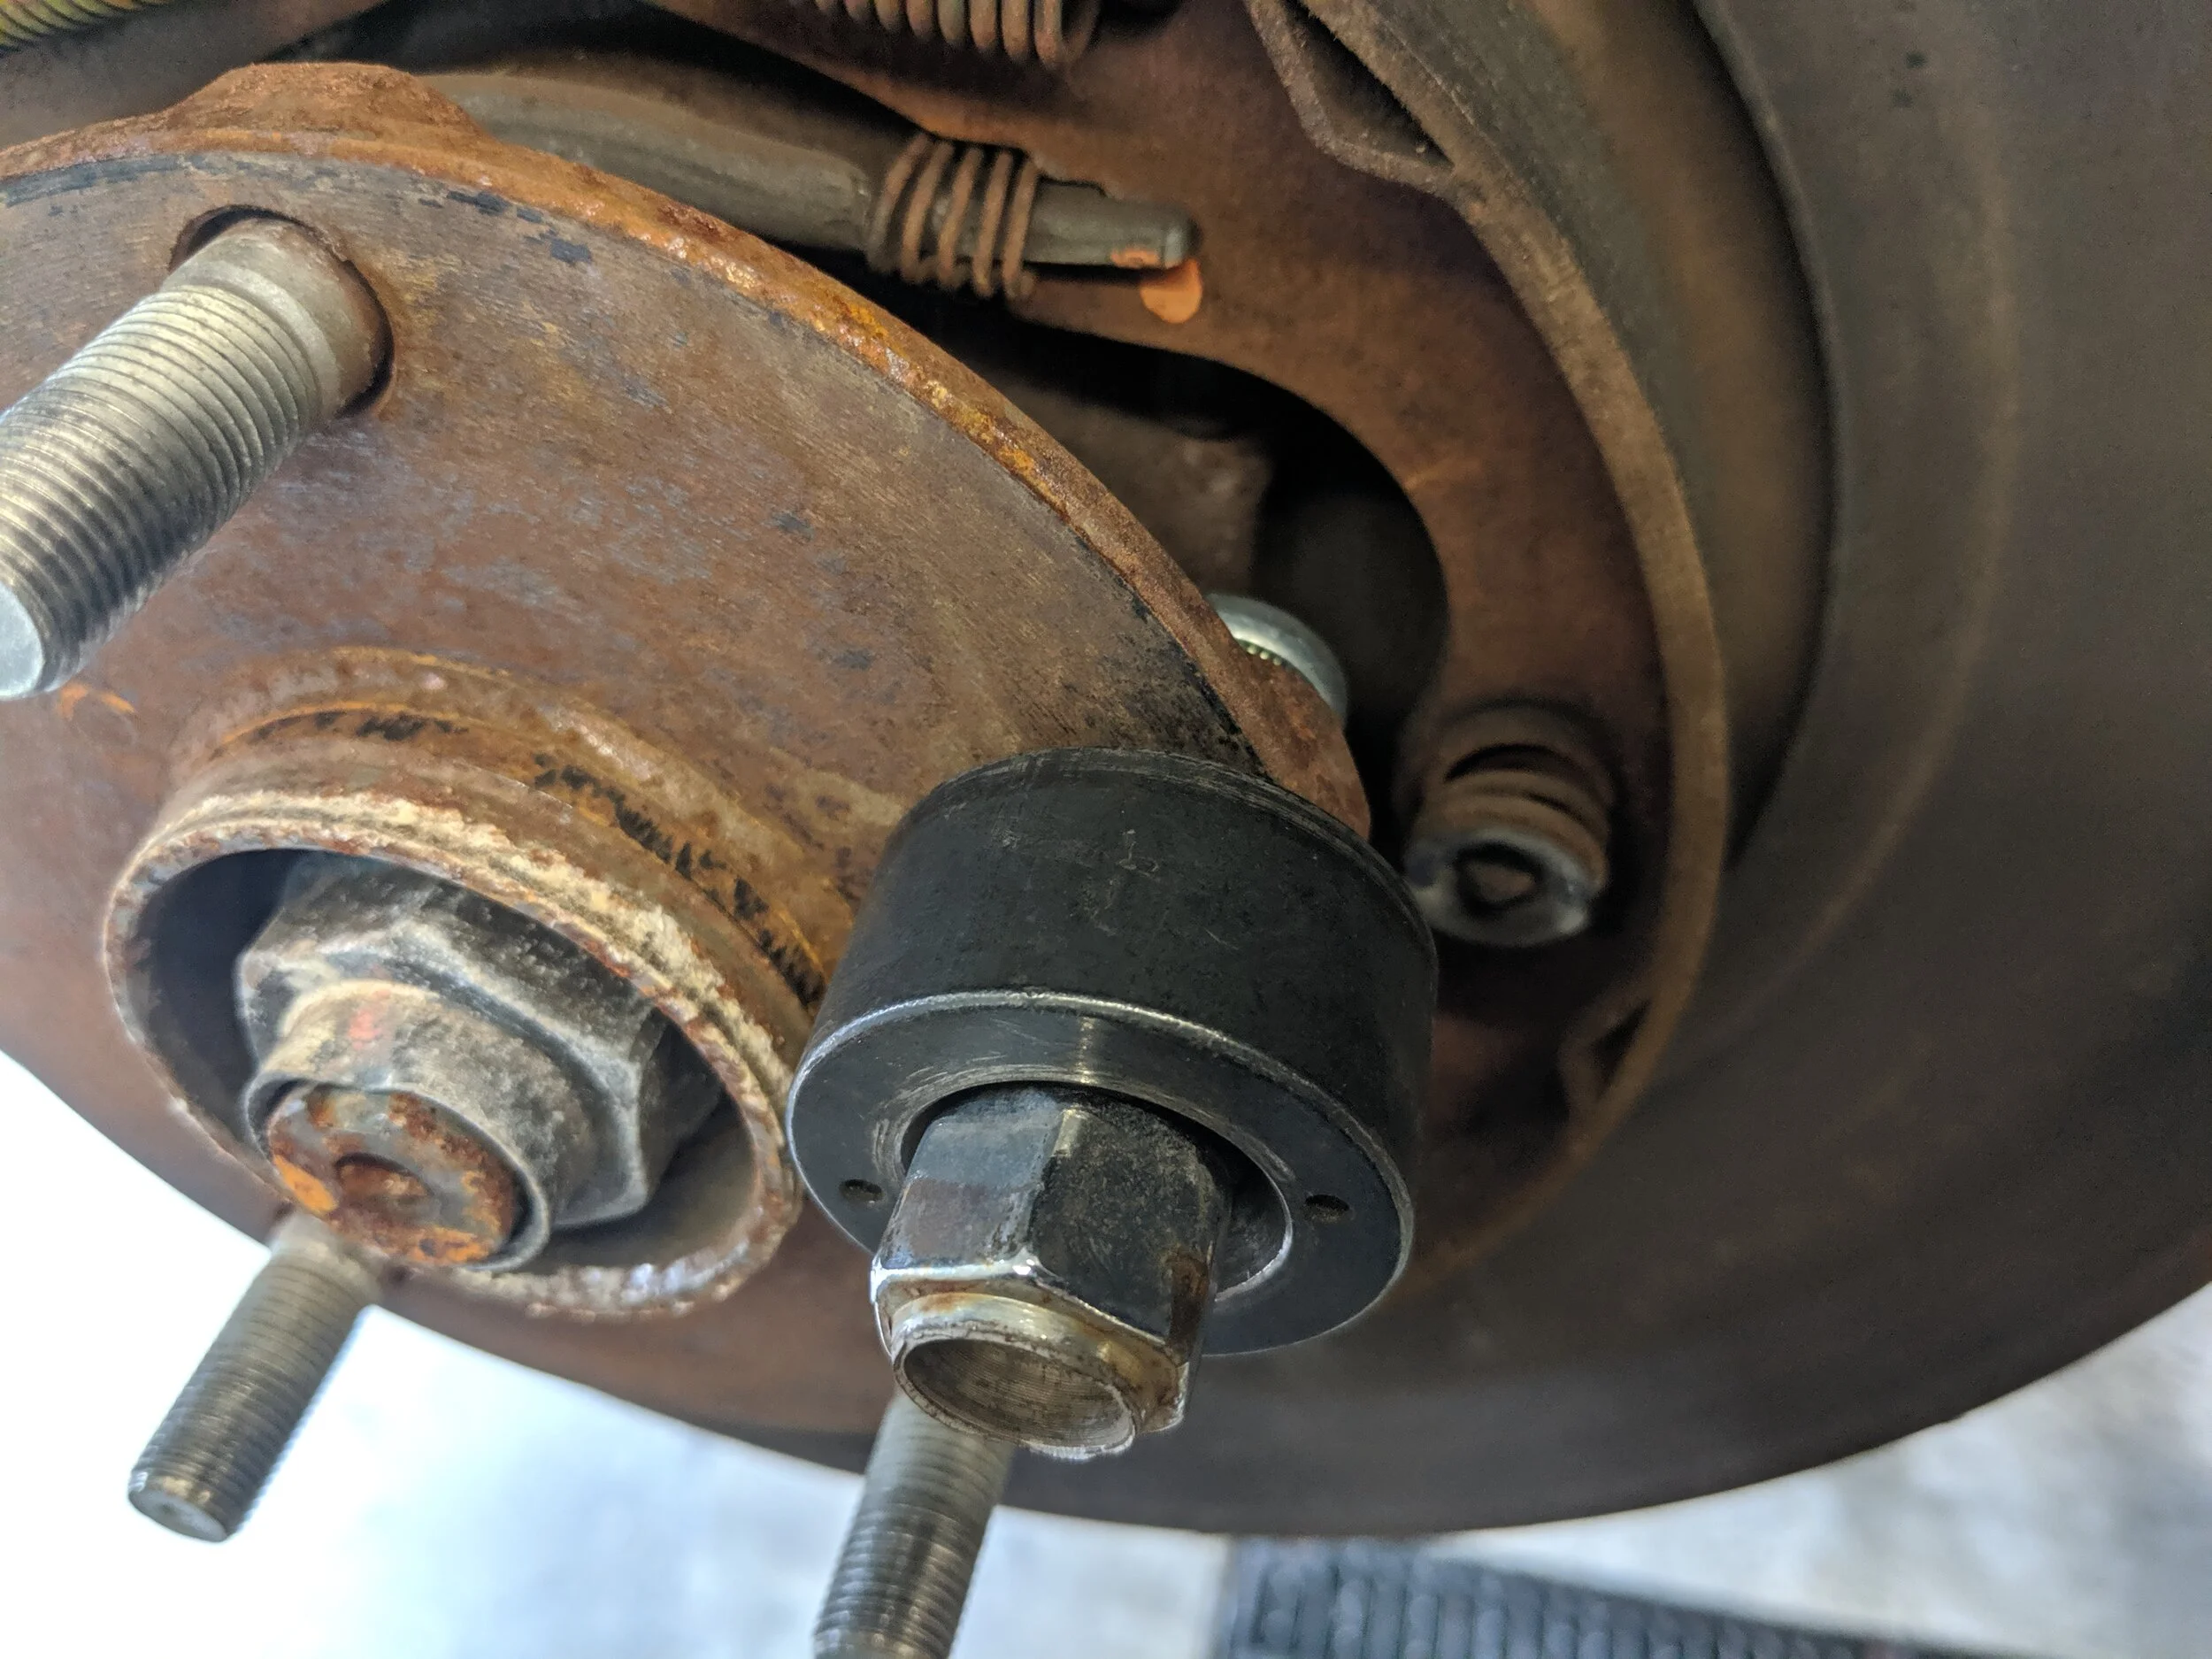
With the stud hammered through you will now have a hole that needs filled. Placing the stud through, you will slide the stud installer over it and start threading on a lug nut. If you don’t have a stud installer a stack of washer can do the trick, just not as quick or easy.

With it lined up to the clear space behind the hub you can now hammer it out.
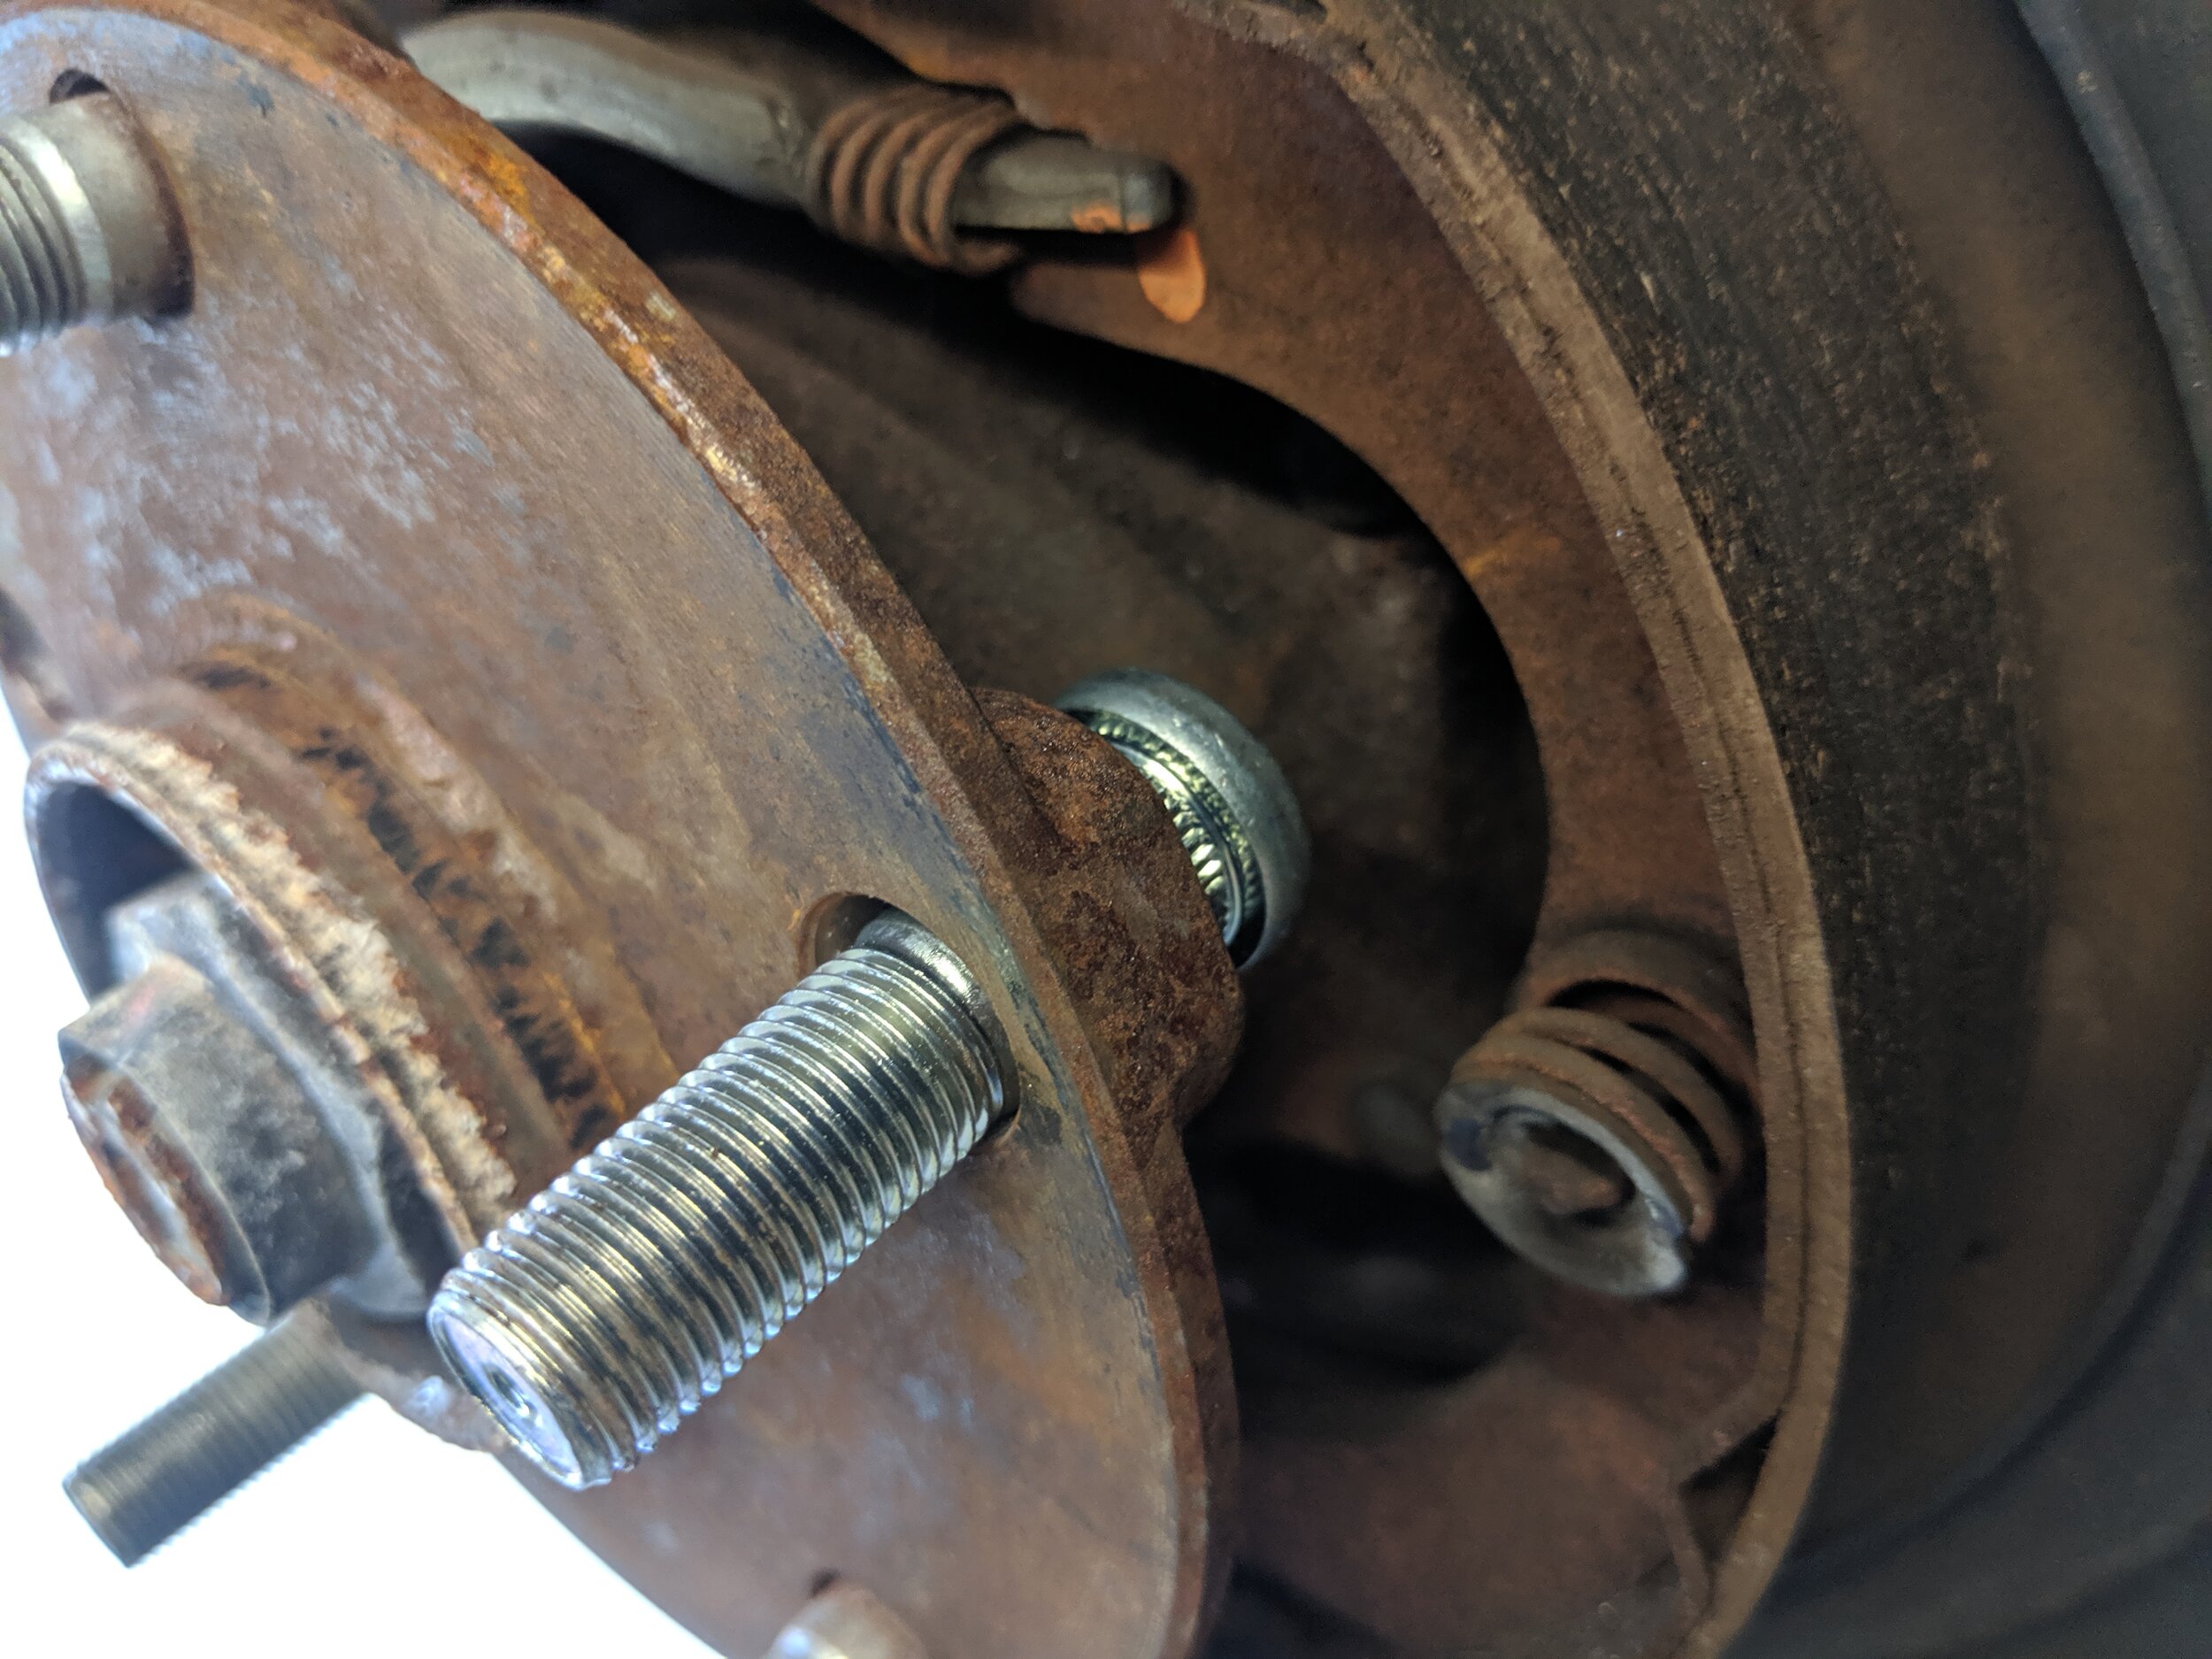
With the old stud out the new stud can be placed in its home.
I generally will spray the stud with a bit of rust penetrant to help reduce friction and heat. The last thing we need is another damaged stud and nut. You can now bring out your favorite tool for running the nut down which in turn installs the press fit stud into the hub.

Placing the stud installing tool on the stud you can now place a nut on to run it down. I use an open ended nut so I am able to see what is happening.
When doing this I find stopping every so often keeps everything from overheating. You can even run the nut back off if you feel so inclined. You can also stop and take a look at how engaged the stud is, if you are using an impact you don’t want to overdo it and be in need of replacing yet another.
If the backside of the hub and stud are flush. Now you will reinstall all the items you removed, starting with the rotor, then on to the caliper and the wheel. You may want to torque the new stud a few times at the proper torque to make sure it is fully seating, now your work is complete!


